![How to Make Tumblers With Cricut? [Step-by-Step Guide]](https://designs-mart.com/upload/blog/655de0bd00d00how-to-make-tumblers-with-cricut-step-by-step-guide-11zon.webp)
Cricut is a perfect machine for making unique and beautiful crafts. Creating tumblers with Cricut is a creative and fun idea. Whether for personal use or as a thoughtful gift, personalized tumblers add a special touch. With more than 2 years of Cricut experience, I will guide you through a simple and easy process to create your own custom tumbler. Whether you’re a seasoned Cricut user or a beginner, this idea is worth exploring. Stay with me to discover how to make tumblers with Cricut.
People like customized items, and they love carrying them wherever they go. Hence, a tumbler will be a suitable option for beginners. So, what does it take to make a beautiful tumbler with your Cricut machine? I will tell you the step-by-step process of making it. Let’s move ahead.
Step 1: Select a Word or Name in Cricut Design Space
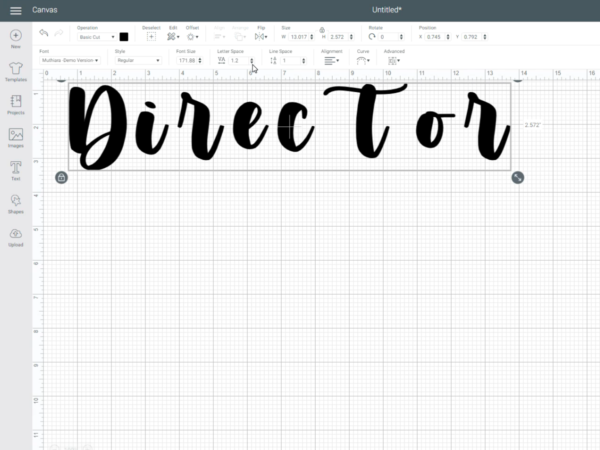
To get started, you need to select a text to use on your tumbler. You can either use an image. But, I am using a word here. When you are in the Design Space, tap on the “New Project” option. Then, click on the “Text” word. Now, type the word you want to use in the “Text” box. Here, I am using the word “Director”; you can use a different word.
Then, you can size it according to your choice and add the small details in the text. Also, you can select a font you like. If you don’t get your desired font, you can download it from different websites like dafont.com and creative fabrica, etc.
Check out the letter spacing and tap on the “Ungroup” word to separate out the letters. After that, choose the whole word, right-click, and select the “Weld” word. By this, your machine will cut out the entire word separately. At last, tap on the “Make It” button and ensure that you choose the correct material size for your mat.
Step 2: Cut Out Your Design
Here, we will use the black Premium Cricut vinyl and will open the package. You can measure the letter’s height and width and then cut a piece of vinyl according to that measurement. Smooth the vinyl on your Cricut mat. Then, power on the Cricut machine, insert the mat into the machine, and set the dial to “Custom.”
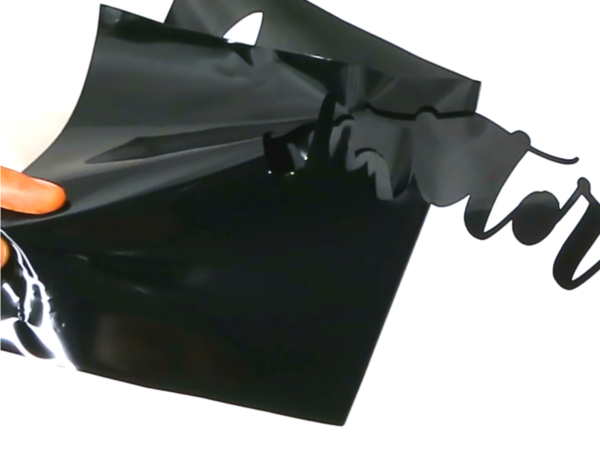
Now, head to your computer, set the base material as “Premium Vinyl,” and then set the pressure. On your Cricut machine, hit the Go button, and then your machine will be ready to cut out the word you selected. At last, press the “Unload” button to take your mat off the machine. Then, weed out the excess vinyl with the help of a weeding tool. Once you do that, let’s learn how to make tumblers with Cricut.
Step 3: Transfer Vinyl to the Tumbler
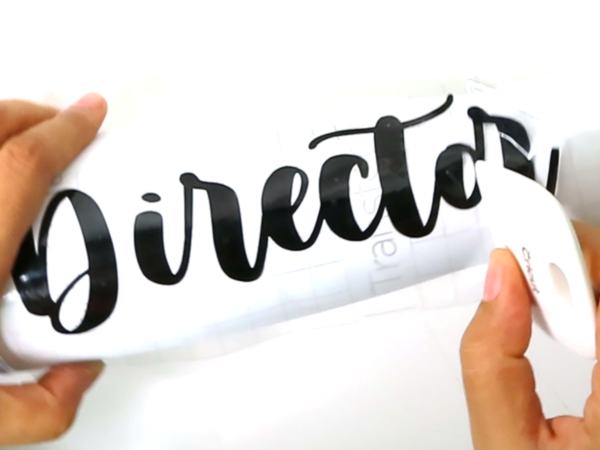
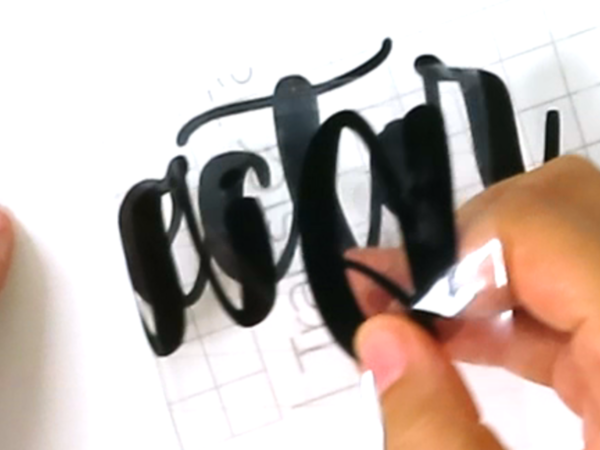
Take a Cricut Transfer tape and cut it according to your vinyl size. Then, peel off the backing of the transfer tape and place it onto your vinyl text. Ensure that your Transfer tape adheres properly to the vinyl. You can also use a scraper tool to remove any bubbles and stick the transfer tape correctly.
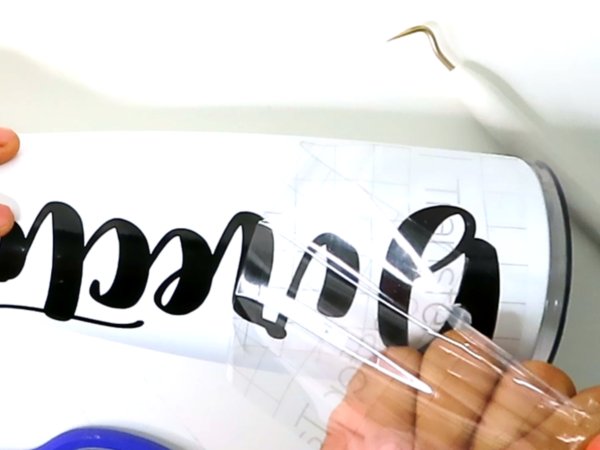
Before you adhere it to the tumbler, you need to clean the tumbler’s surface with rubbing alcohol and cotton. It will take off the dirt from there. Now, take off the transfer tape from the back. Then, slowly place it on your tumbler. Now, ensure that your vinyl word is placed in a straight form. Finally, push your word from the center, and you can also use a scraper tool for sitting the vinyl onto the tumbler.
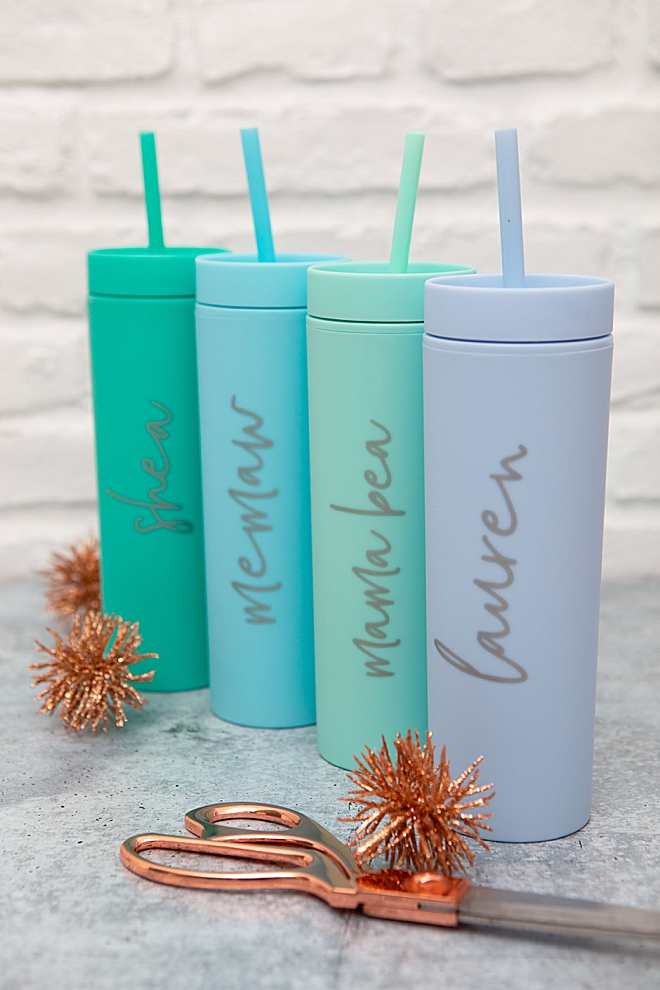
After that, peel off the transfer tape from the tumbler. It will leave the vinyl on the tumbler, and your customized tumbler will be prepared in no time. That’s how you can prepare a customized tumbler from Cricut.
Conclusion
That’s it for tumbler-making with the Cricut machine. Hopefully, you all have enjoyed learning how to make tumblers with Cricut. The best part is that you can create tumblers with any Cricut machine. There are some accessories you’ll need here, and you can easily collect them. Moreover, you can take the image or font from the Cricut Design Space. If you don’t get any good image or font, you are free to download it from the other source as well.
Frequently Asked Questions
Creating a personalized tumbler with a Cricut machine is an easy process. You have to gather all the necessary stuff, such as vinyl, transfer tape, weeding tool, scrapper, etc, to get started. Then, select a word or name to transfer it to the tumbler.
Then, cut it on the vinyl and apply the
transfer paper on it. Now, peel off the backing of the transfer tape and apply
the tape to the final tumbler. Then, peel off the transfer tape from it. Then,
your customized tumbler will be prepared.
To create customized tumblers with Cricut, you
should use permanent adhesive vinyl. This type of vinyl will not fade off with
frequent washing. For instance, bottles, mugs, and cups are used regularly at
home. Hence, using suitable vinyl will prevent it from fading off. You can get
the permanent adhesive vinyl easily from the Cricut store.
Removable vinyl can be washed off easily with
water. Hence, you can use them for temporary use, but for permanent use, you
will have to use permanent vinyl. These vinyls are easily available online. You
can order it online, or you may get it inside your Cricut box. To transfer the
word or image, you need to press it on the tumbler and peel off the transfer
paper.

David Madock
5+ Year of experience
