![How to Use Cricut EasyPress 2?[A Beginner's Guide]](https://designs-mart.com/upload/blog/65f426c4d4882how-to-use-cricut-easypress-2-a-beginner-s-guide.webp)
The Cricut EasyPress is my favorite heat press machine when it comes to making T-shirts. When I bought my first Cricut machine, it took me a while to set up the Cricut EasyPress for the first time. So, when I started my business, I usually used a regular iron for projects. However, as my business grew, I felt the need for a Cricut EasyPress machine. Having used this machine extensively, I will guide you on how to use Cricut EasyPress 2 effectively.
One thing to note for all the beginners thinking about buying this machine is that it is really powerful, with great capabilities to adjust the temperature and time according to materials. Therefore, if you are interested in getting it, I highly recommend it. Let’s learn a little more about it.
Cricut EasyPress 2: An Overview
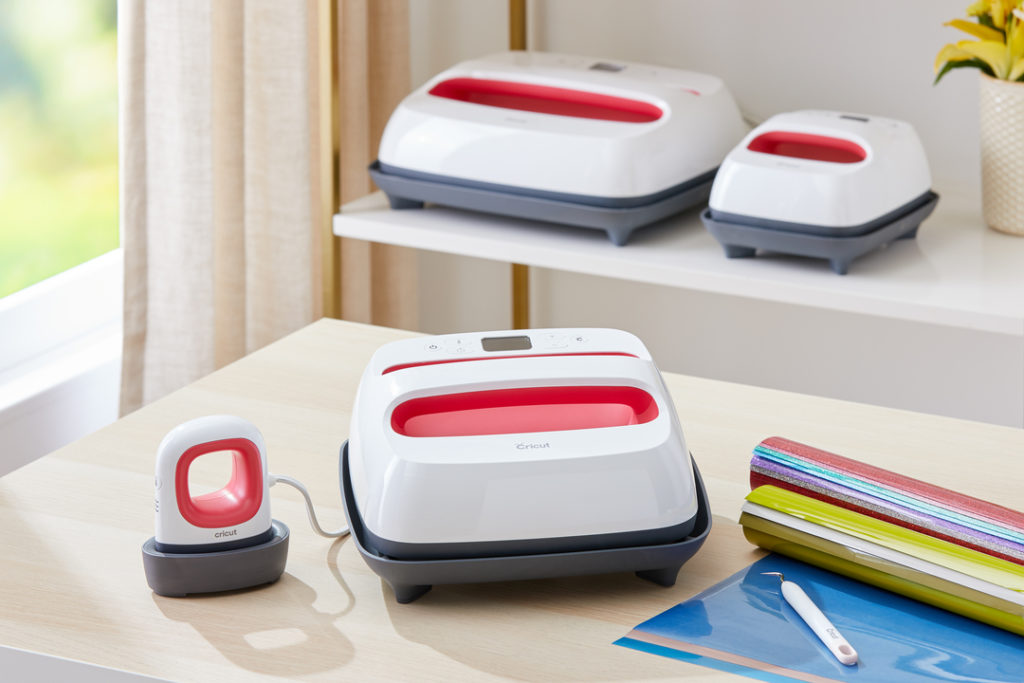
You may have heard of the heat press machine. A Cricut EasyPress machine is the smaller version of that. This machine is capable of heating up to 400 degrees Fahrenheit and holds a flat plate that can spread the heat evenly to your material. This machine is available in different sizes and comes with Bluetooth connectivity that prevents you from a lot of guesswork.

When I used to make my projects, I never used a heat press. And the regular iron used to take too long to prepare an iron-on project. Also, working with infusible ink with a normal iron is just impossible. So, you will need to buy an EasyPress by hook or by crook.
What Will You Need to Use a Cricut EasyPress 2?
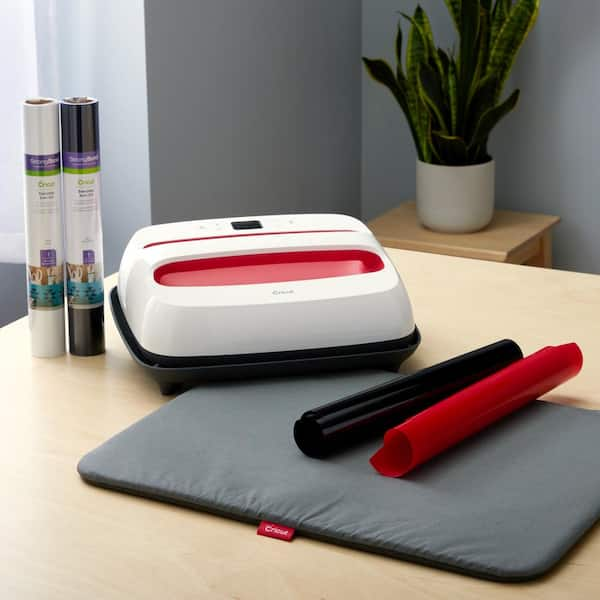
A Cricut machine is in the box already. Apart from this, you will need iron-on vinyl, which you will cut with your cutting machine. Cricut infusible ink is also there in the list, which you will need to make iron-on shirts and other projects.
To clean the projects, you will also need a weeding tool. This tool will clear out the excess vinyl from your final cuts. Lastly, an EasyPress mat is necessary to protect your work surface from heat damage. So, you can place your material on that mat and then apply the heat.
How to Use Cricut EasyPress 2?
Using a Cricut EasyPress 2 is quite easy and doesn’t take much time. I hope you guys know the procedure to cut an iron-on vinyl from your Cricut cutting machine. So, I won’t explain that portion and will start only the process for EasyPress. Below are the instructions to use a Cricut EasyPress 2 machine.
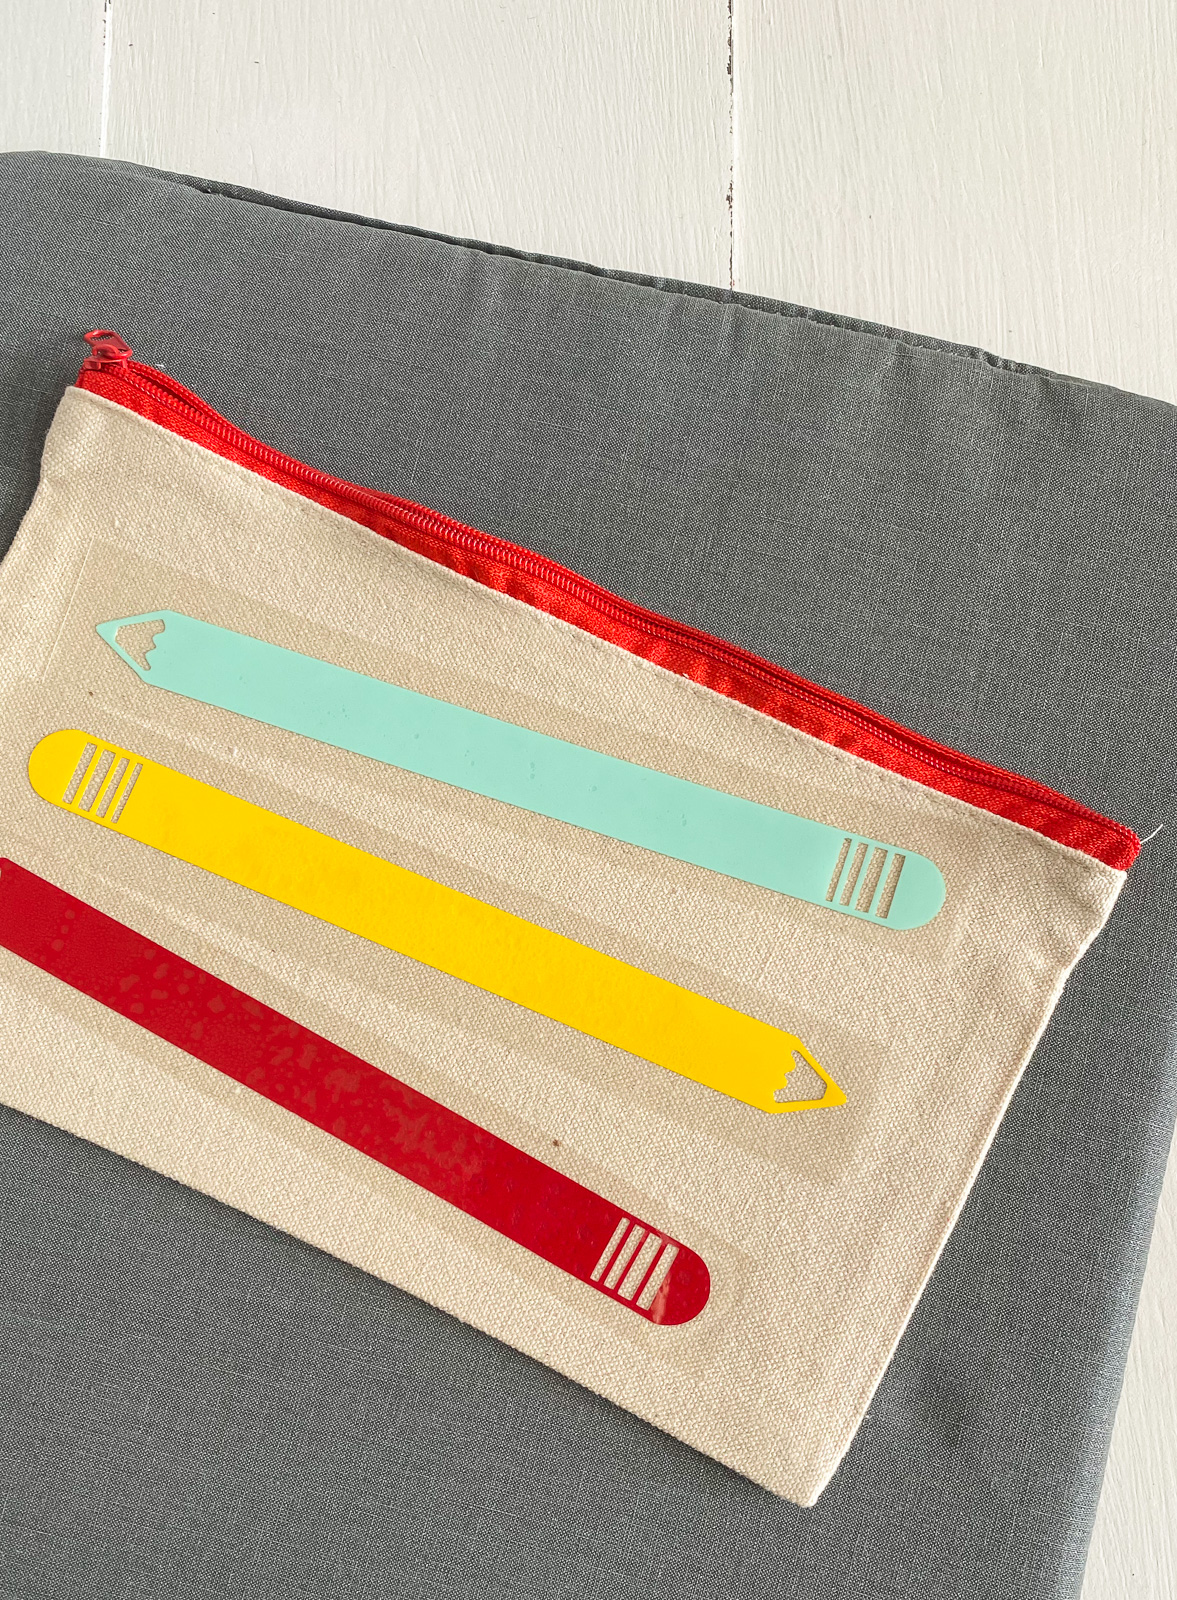
- In the first step, I expect you to cut your design and weed out the excess vinyl with a weeding tool. Don’t forget to mirror your design before cutting.
- Now, ON your Cricut EasyPress machine, adjust the temperature with the help of a thermometer, and use the arrow keys. (The Cricut Heat guide will help you choose the right temperature for your material)
- When you notice the red light turning green, it indicates that the machine is all set. And you will also hear a beep.
- Now, put the blank on your EasyPress mat.

- Press your blank for about 5 minutes to warm it up for the actual pressing. Plus, a pre-heat will remove the wrinkles from your material.
- Next, place your iron-on vinyl onto the blank and make sure that the shinier part is facing up.

- It’s time to set up the timer on your EasyPress and learn the process of how to use Cricut EasyPress 2.
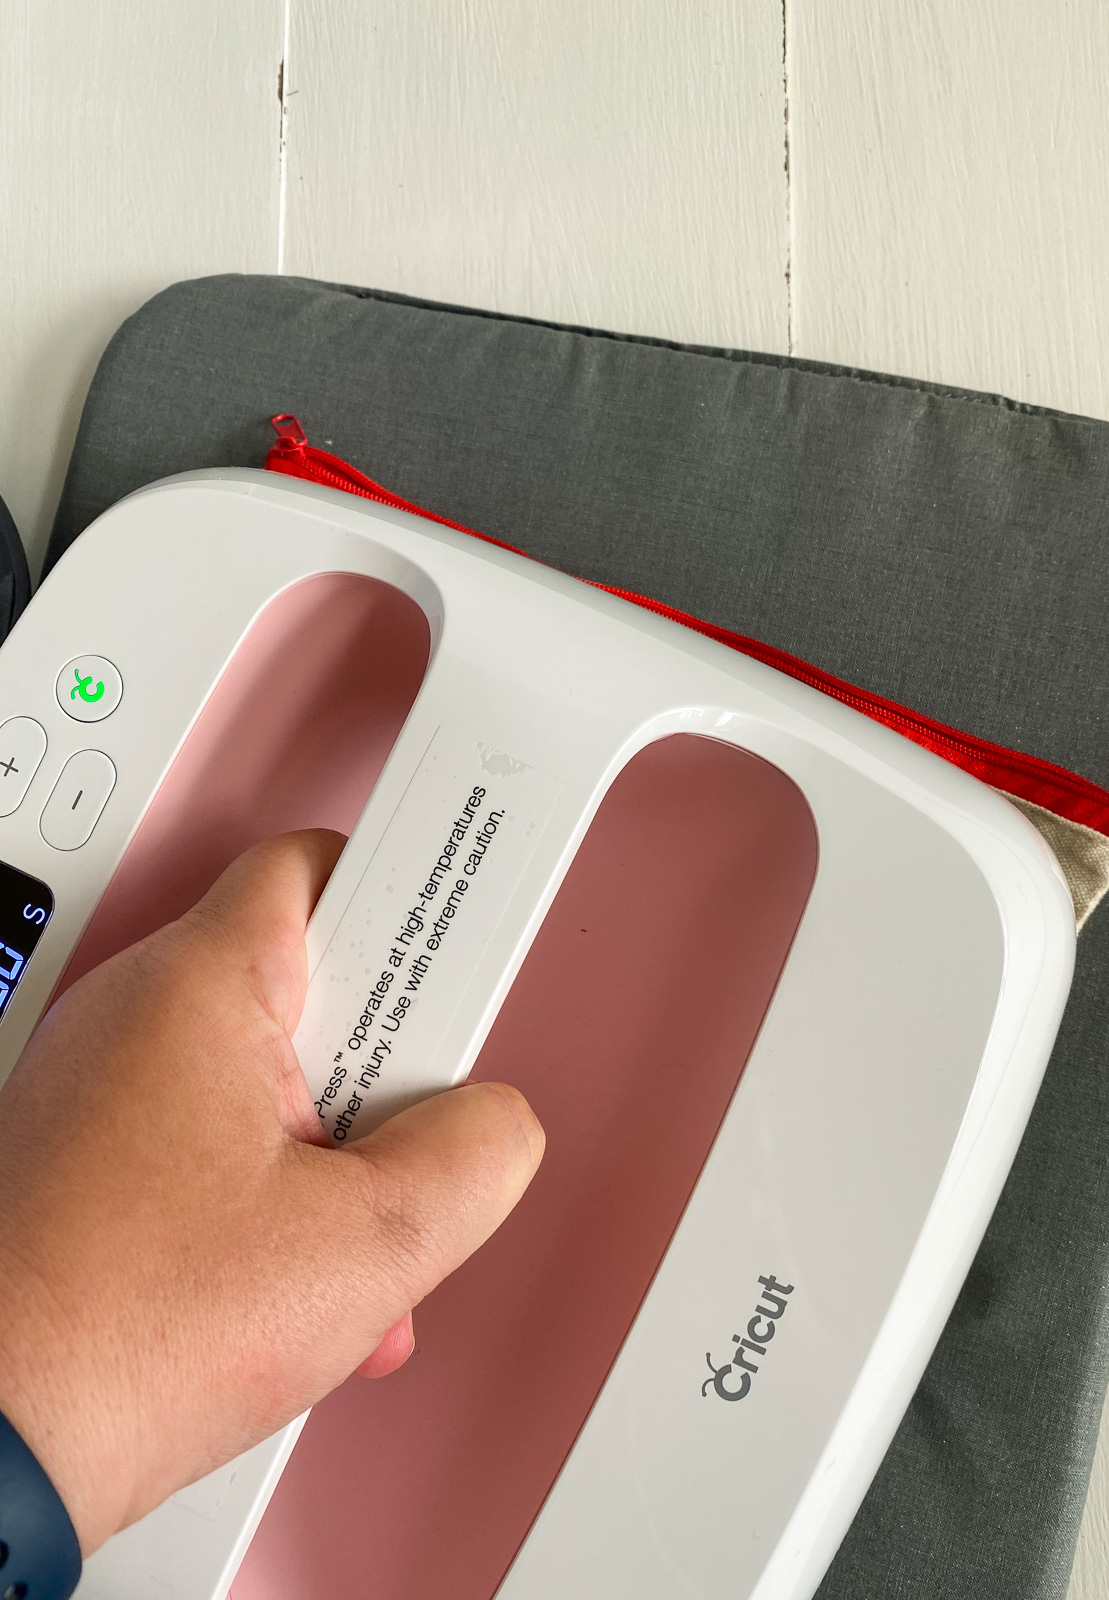
- Apply gentle pressure while pressing your material.

- Once the time is up, a beep will be produced. Then, place your EasyPress back to its base.
- Allow your design to cool completely.
- Now, remove the plastic backing from the vinyl.
- If your material needs more heating, it’s ok to press it for a little longer.
That’s it for the Cricut EasyPress 2. You can try this out and create any of your favorite stuff to utilize the machine.
Conclusion
Do you know how to use Cricut EasyPress 2 now? Hopefully, you do. See, this machine is damn easy to use, and you will feel too comfortable with it once you start using it. However, you must master the cutting part with your Cricut cutting machine. Only then can you utilize a Cricut EasyPress for your projects. When you start using this machine, you will realize how wonderful the machine is.
Frequently Asked Questions
Beginners should use
the Cricut Heat guide/Heat app to learn howto use Cricut EasyPress 2 and set the project settings for desired results.
You can press the timer and use the +/-
buttons to set the required time. To set the required temperature, you can
press the temperature button and adjust it with the help of the +/- buttons. When your Cricut EasyPress
starts flashing an orange light, it’s getting heated. Make sure to use this
machine with caution.
Cricut EasyPress Mini
is for smaller projects, and it works great. To use this machine, place your
material on the shinier side up on the surface. Then, apply heat and start the
timer. After that, start using the EasyPress Mini across your material and cover
the whole design, such as the edges and center, until the time goes 0.
A Cricut EasyPress
machine is a combination of an iron and a heat press. So, it is perfect for
your regular DIY projects. It has the capability to provide quality and precise
heating without complicated procedures, and you will feel it like a normal iron.
Mostly, users use this machine to transfer the iron-on vinyl or HTV to the
fabric or other materials. You can also use the infusible ink to create
something with your Cricut Heat Press.

David Madock
5+ Year of experience

